fabian
-
Posts
1 -
Joined
-
Last visited
Content Type
Profiles
Forums
Events
Gallery
Store
Articles
Videos
News & Articles
Everything posted by fabian
-
Help. How To Replace Shocks/struts?
fabian replied to SHAWNGS300's topic in 93 - 05 Lexus GS300 / GS400 / GS430
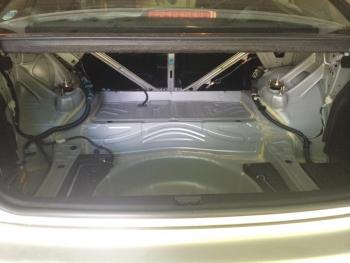
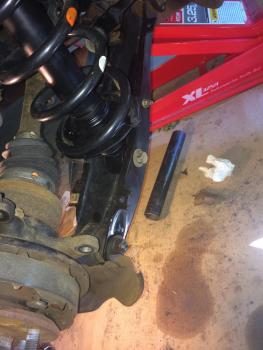
I just replaced the rear shocks in my 1999 GS400. I've included step by step instructions below. Remove Rear back trunk wall cover to expose Shock mounting bolts *in other models you have to remove the back seat to get to the shock mount bolts. This is not the case with this GS. I found this out the hard way. That's why the back seat is removed in the pictures. Unbolt two rear, silver hook-brackets on each side of back trunk floor Remove 5 plastic fasteners by popping out with screw driver Pull out the rear back trunk wall cover Jack up car and remove rear wheels Remove break calipers I use a screw driver to compress break pistons a little in order to remove caliper easily Remove two 17mm bolts on back side of break caliper mount Suspend caliper or place on stand in order to prevent stress/kink on the break lines Remove plastic cover on the forward side of the lower control arm this is necessary to access the nuts to take off the anti-sway bar, strut, and wheel assembly There are two screws attaching the plastic cover to the lower control arm Remove bolt that connects the anti-sway bar to lower control arm This bolt is the one behind the shock mounting bolt ensure anti-sway bar is free to move in lower control arm Remove bolt connecting bottom of strut to lower control arm Remove large bolt connecting wheel assembly to lower control arm Remove 3 strut mounting bolts in the trunk Remove shock assembly from car slip bottom out towards you and then lower and remove from wheel well Replace strut in shock assembly (or entire assembly) Mark with scratch the position of top shock assembly with end of spring coil. Compress spring with spring compression tool until strut is loose in assembly Remove top nut connecting strut to assembly by holding strut tip with vise grip pliers Slide out top of shock assembly taking note of position of inner and outer washers and cap Slide old strut out of assembly Place new strut in assembly Replace inner cap, top shock assembly, washer and nut. Tighten nut by holding strut tip with vise grip pliers Align mark with top coil end. Release spring compression slowly making sure mark on top shock assembly is aligned with top coil end Replace Strut assembly in reverse order Pictures to come soon