Leaderboard


Popular Content
Showing content with the highest reputation on 03/22/2021 in all areas
-
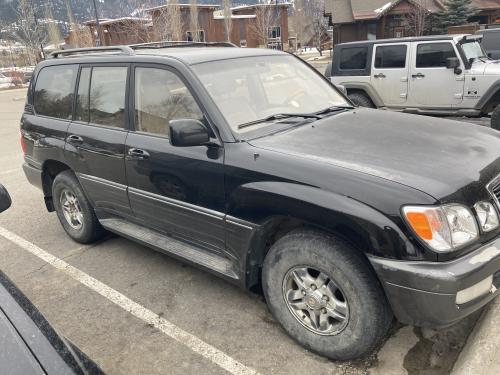
I guess today was my lucky day. I landed a 2002 LX 470 for free! It has the factory supercharger and 250k miles. It’s needs some cosmetic work but there isn’t much rust on the underside and no rust on the body. The reason the are giving it away is do to the fact that they continue to break serpentine belts. They are on there 4th belt in the last 15-20k miles. I don’t actually have the vehicle yet...it is scheduled to be towed (last time belt broke they gave up on fixing it) to my house early next week. I plan on having it looked at by my Toyota mechanic to see if he can diagnose the cause of the belt breaking. I couldn’t be more excited! I know it may take some work to get things sorted out. When it’s free, the time and money don’t hurt as bad. Cheers!
 1 point
 -
You're replying to a post by someone who was last here 10 years ago. I doubt that you'll get a response. One of the things with car forums....cars die painful deaths and their owners disappear with them. You might try to find a more generic car audio forum?1 point
-
Thanks for the link. I enjoyed reading that.1 point
-
10 yrs later... You ever get around to this project? Sincerely, an LS400 owner in 20211 point
-
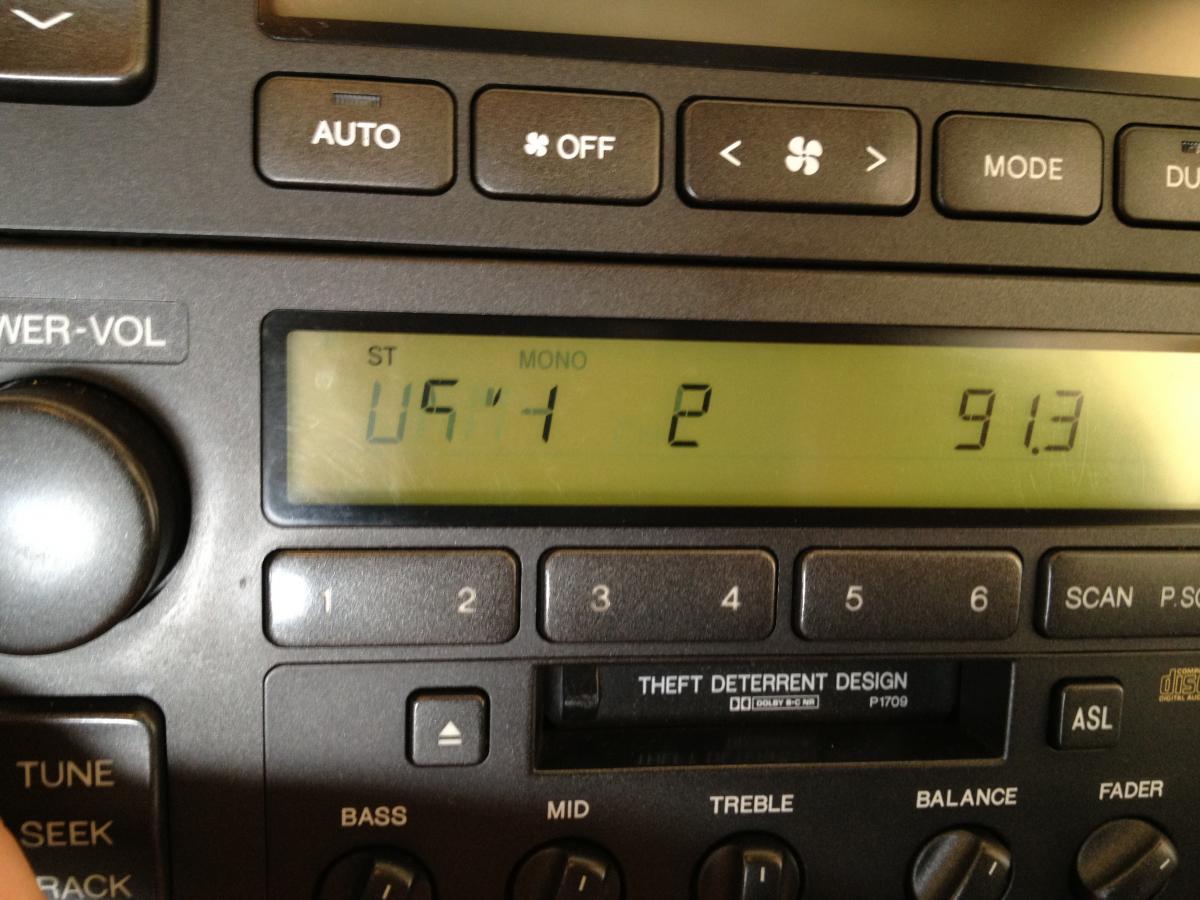
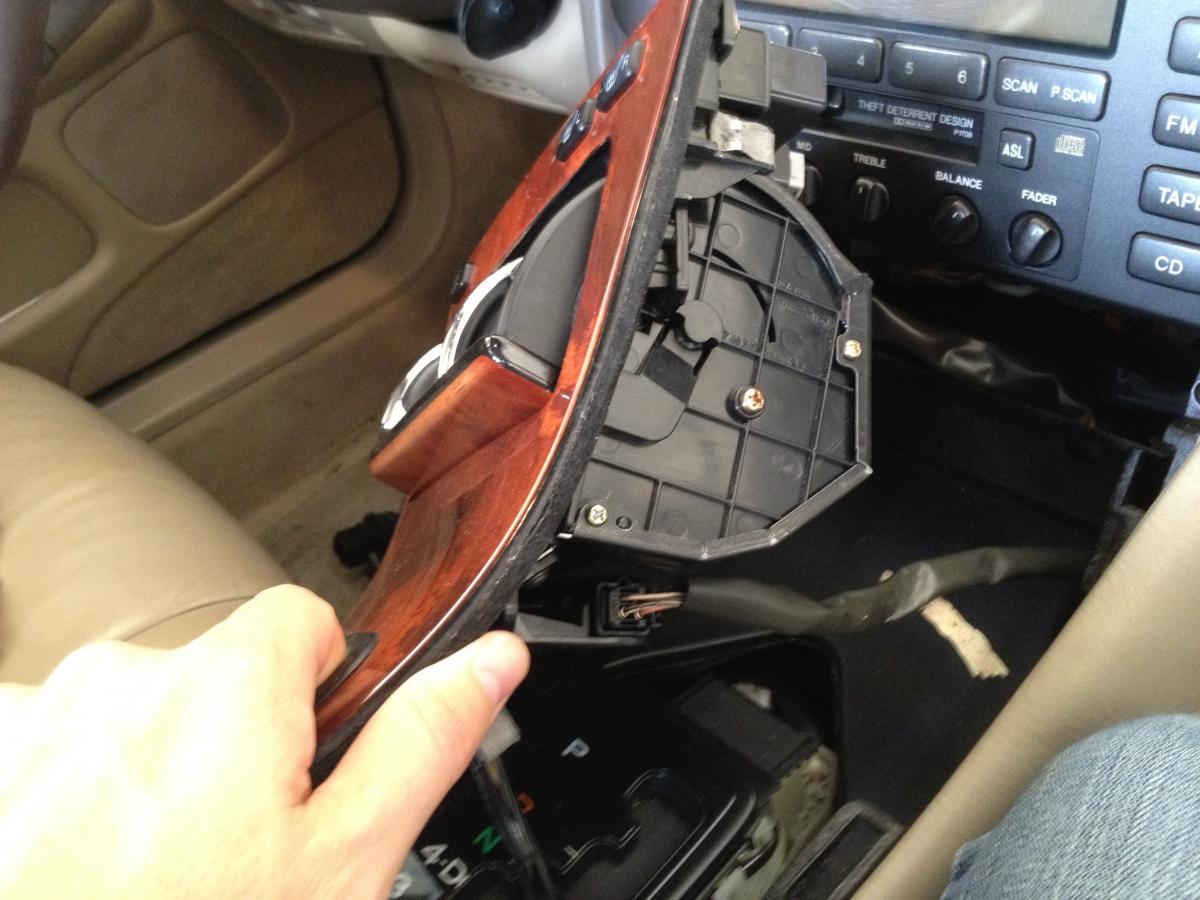
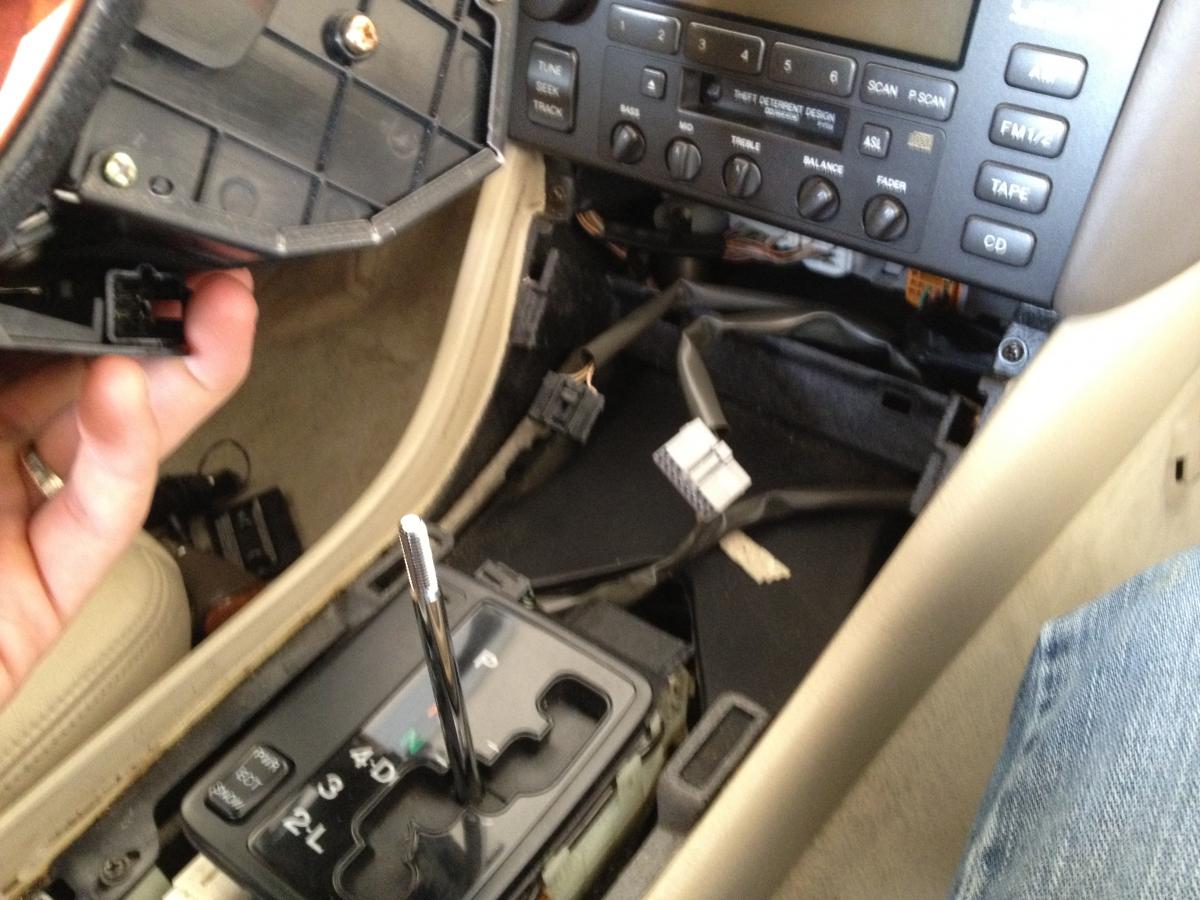
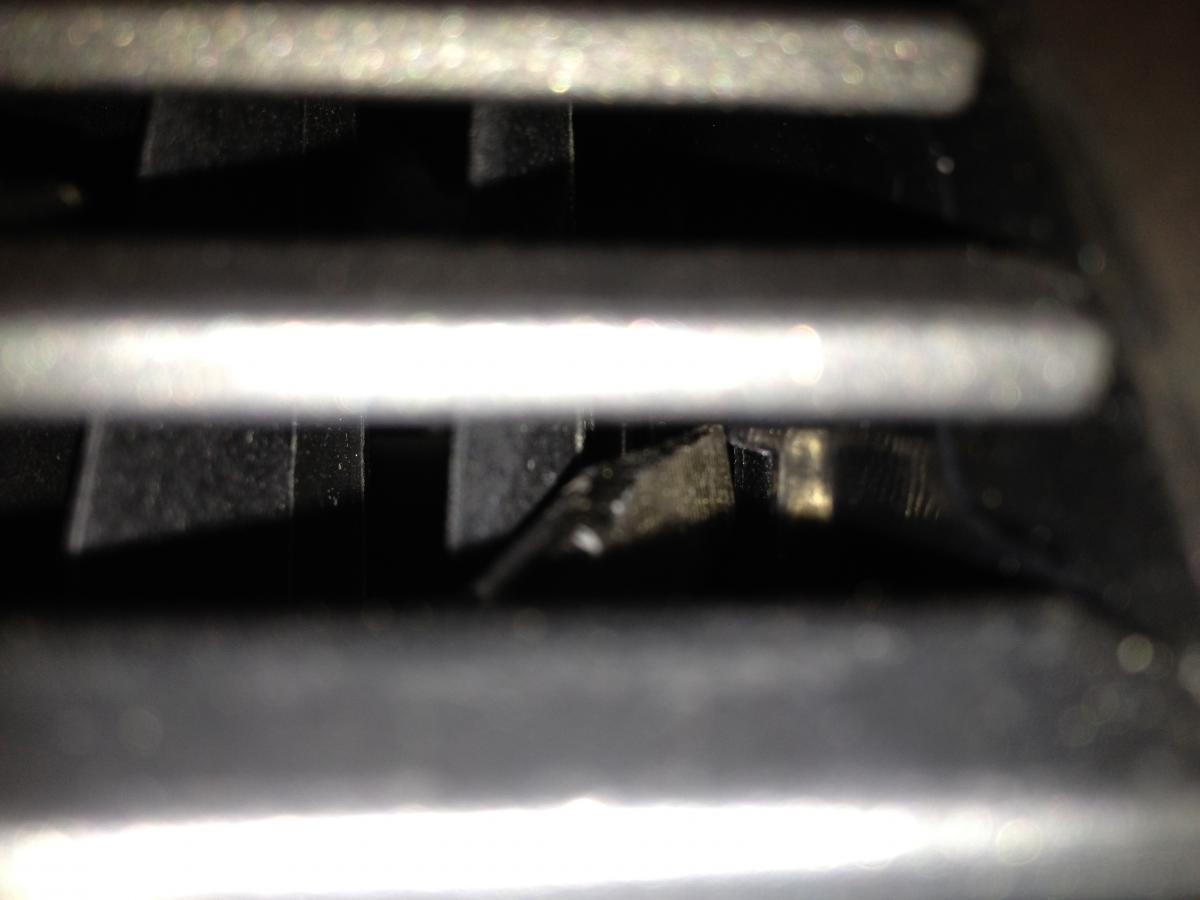
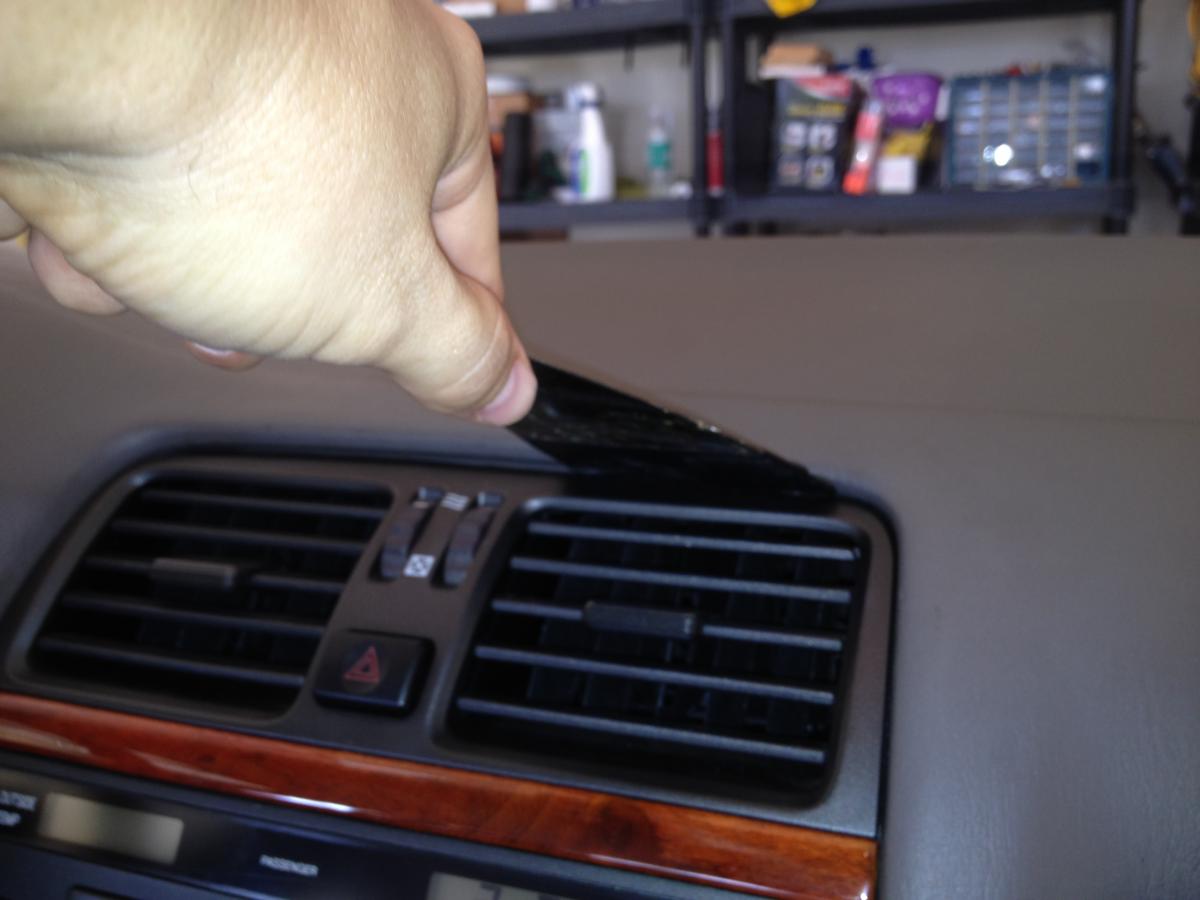
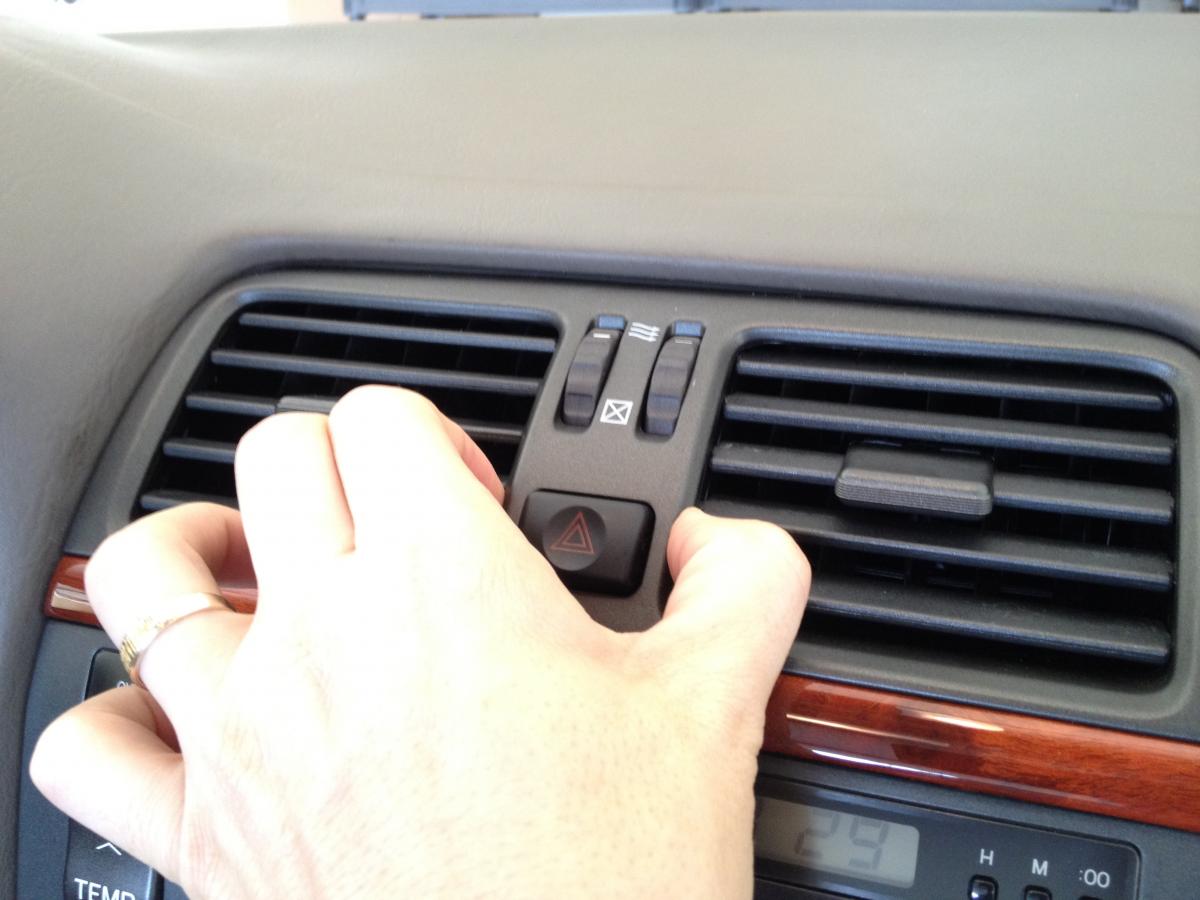
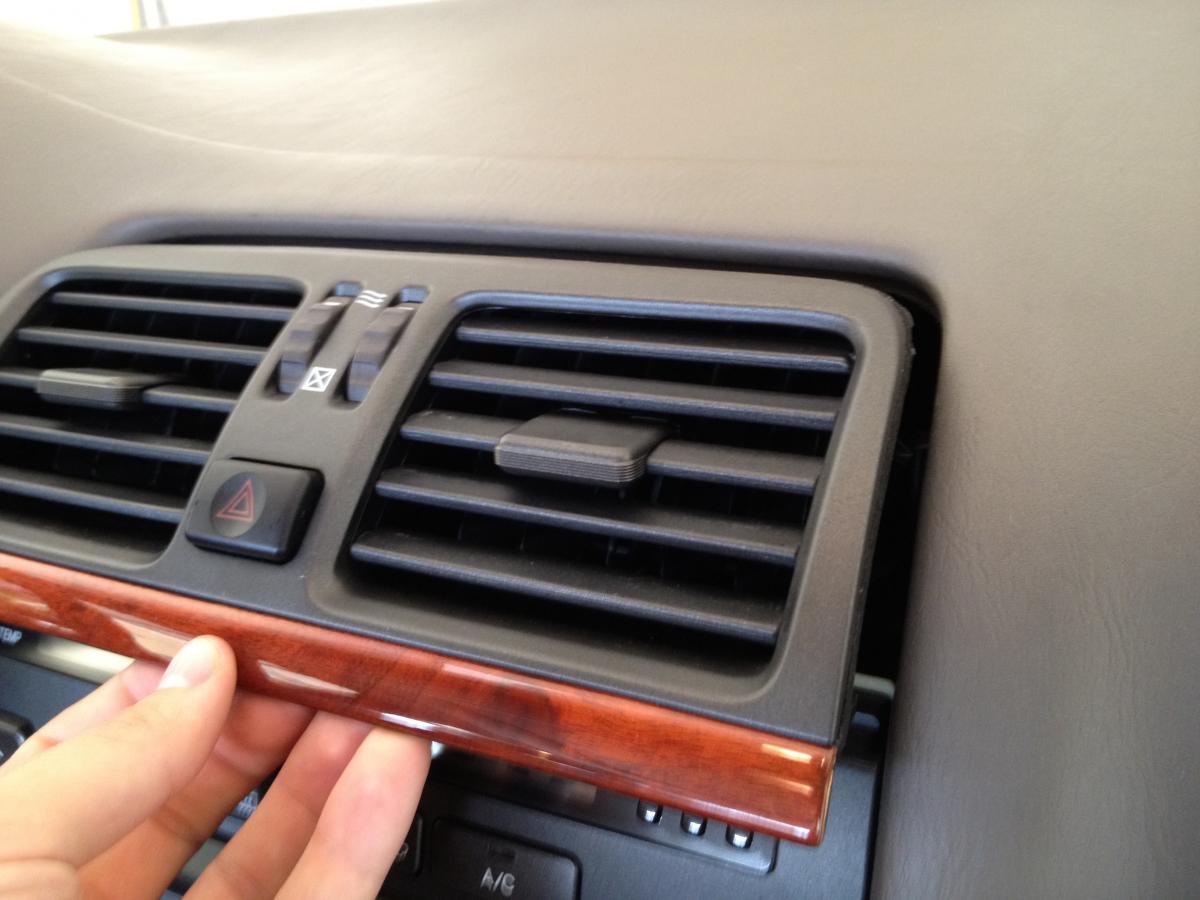
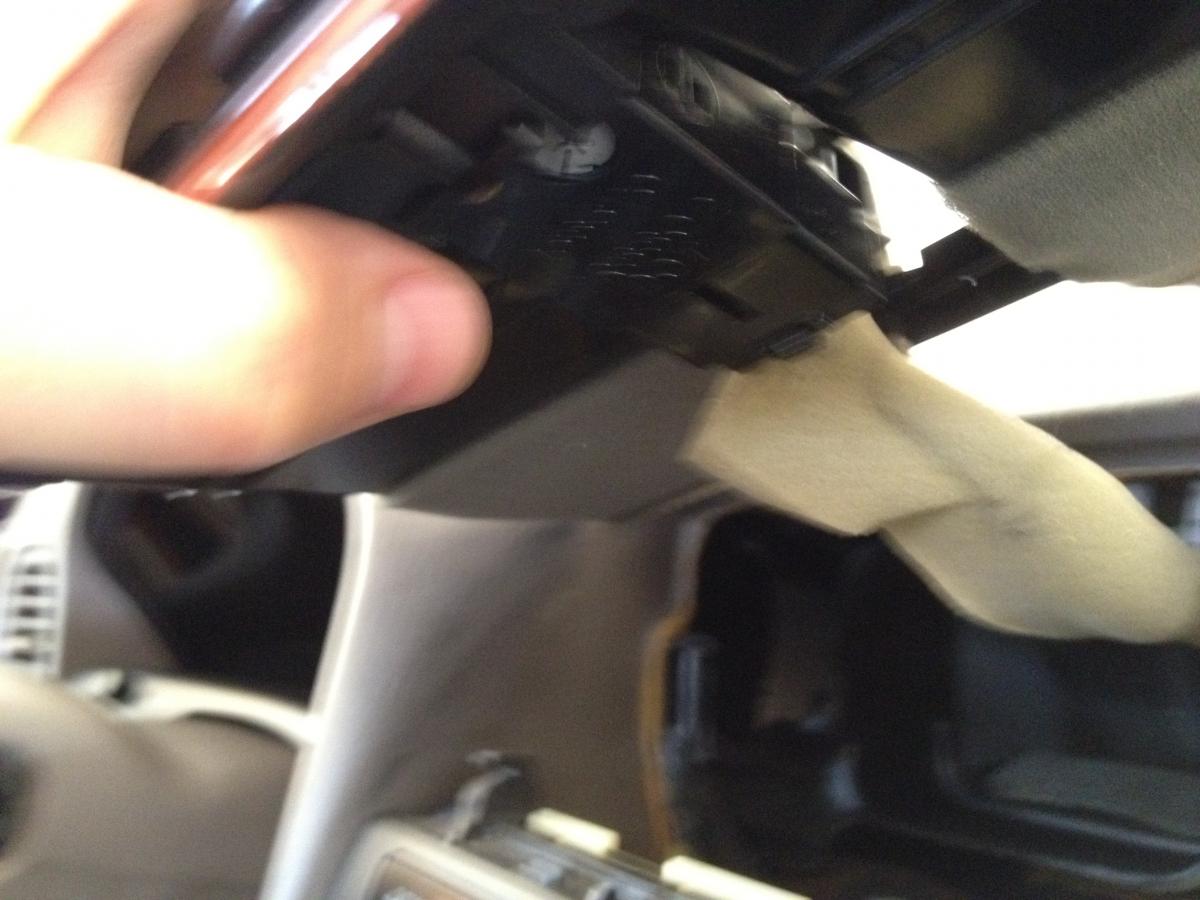
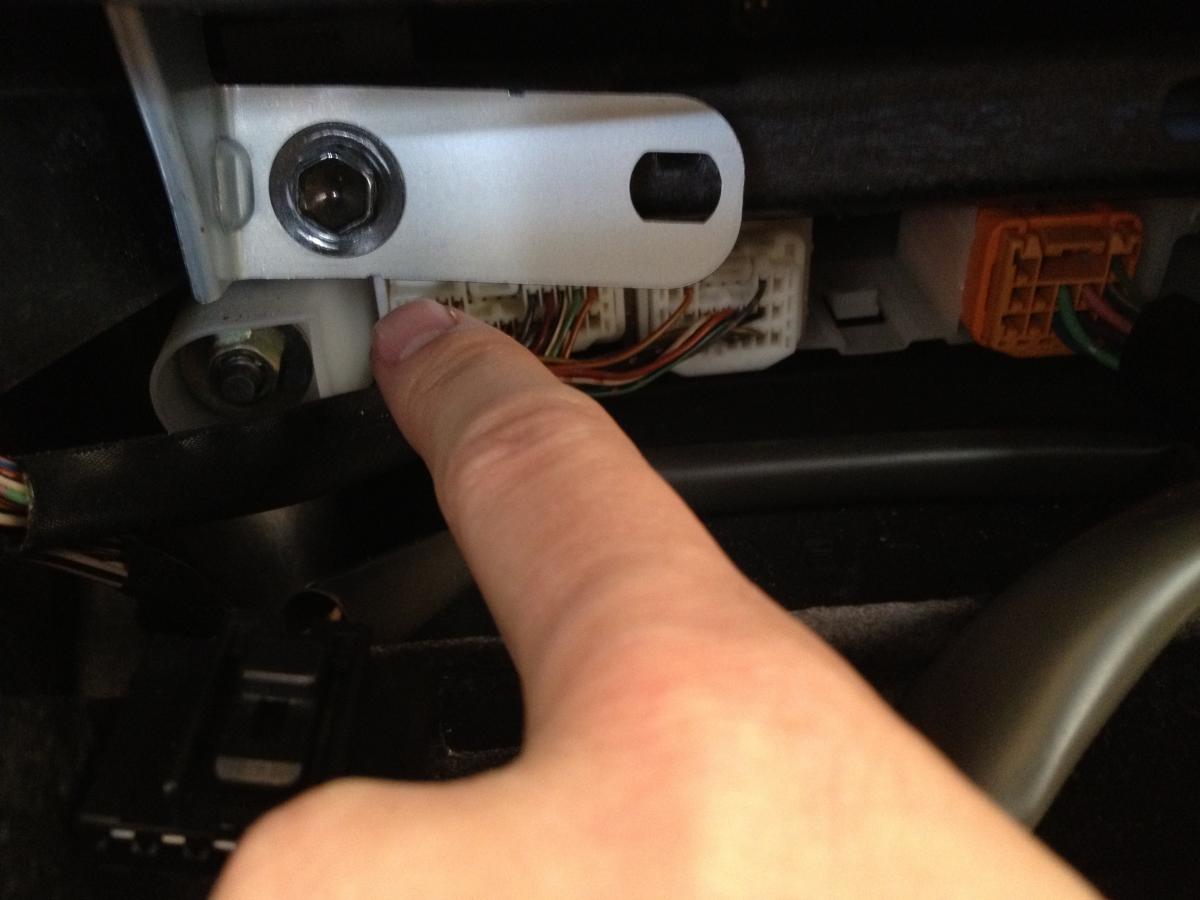
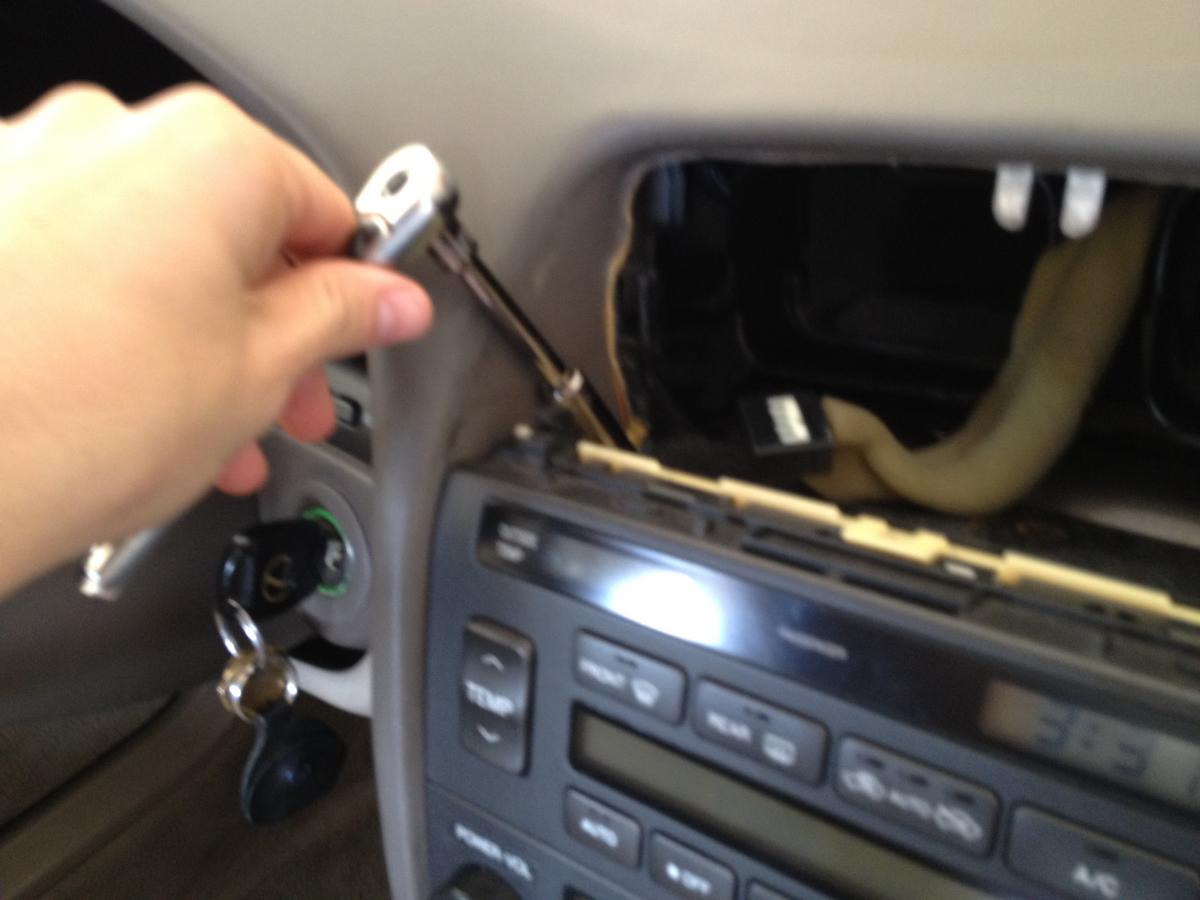
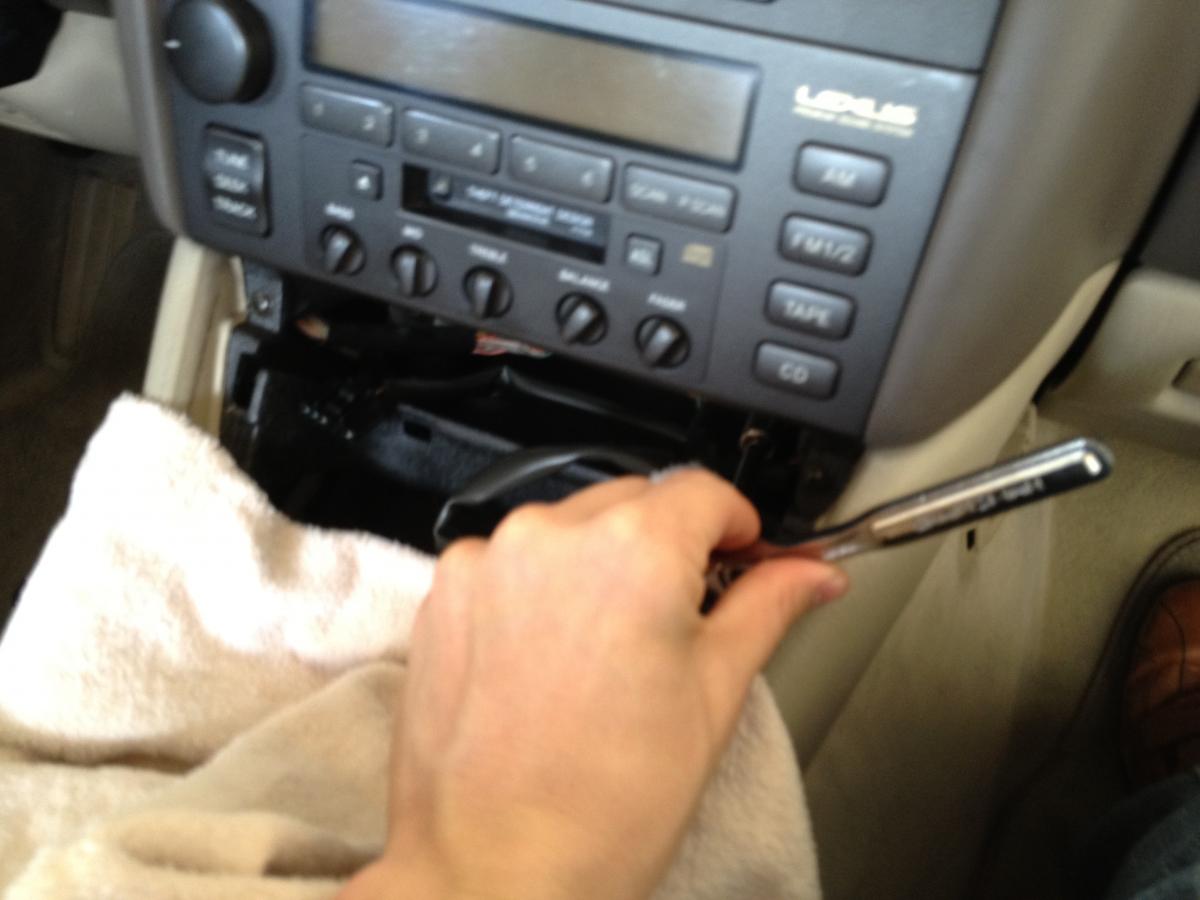
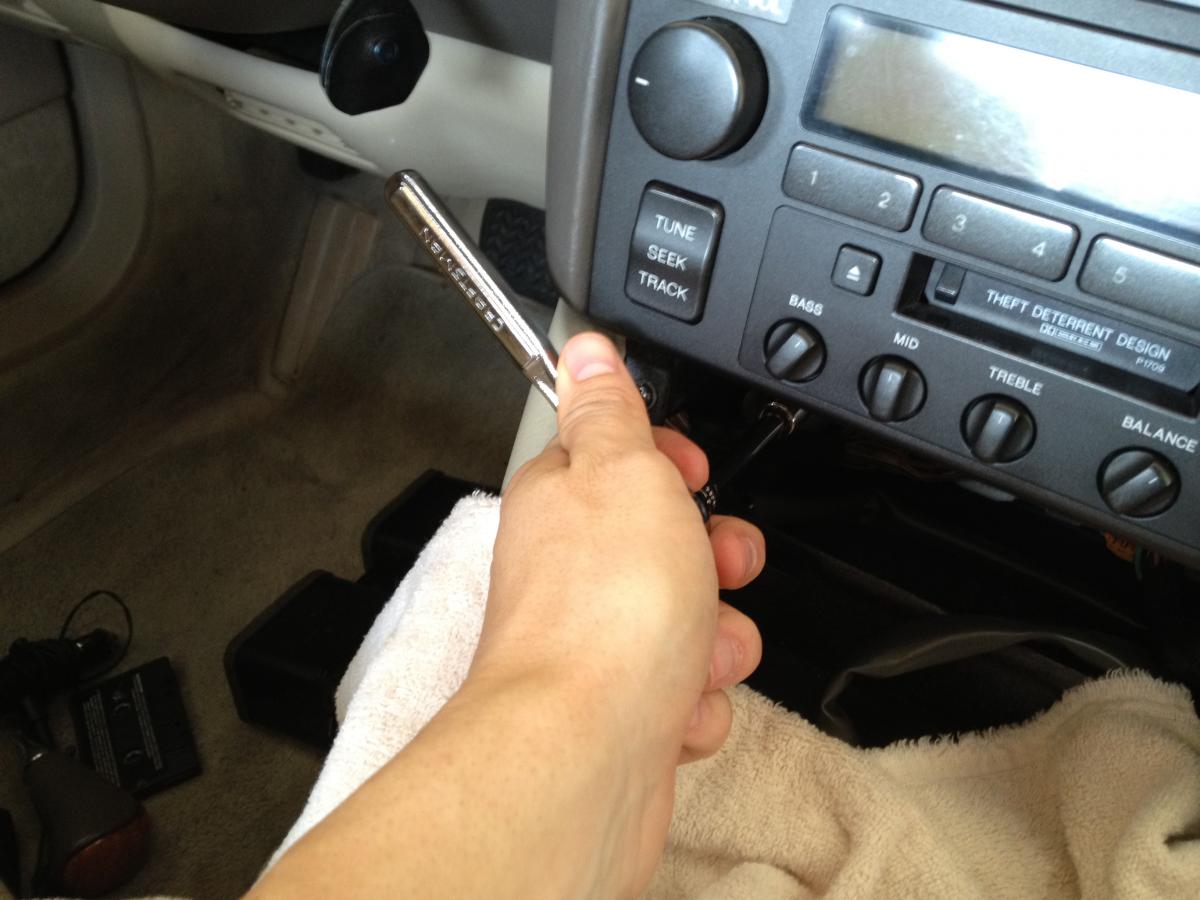
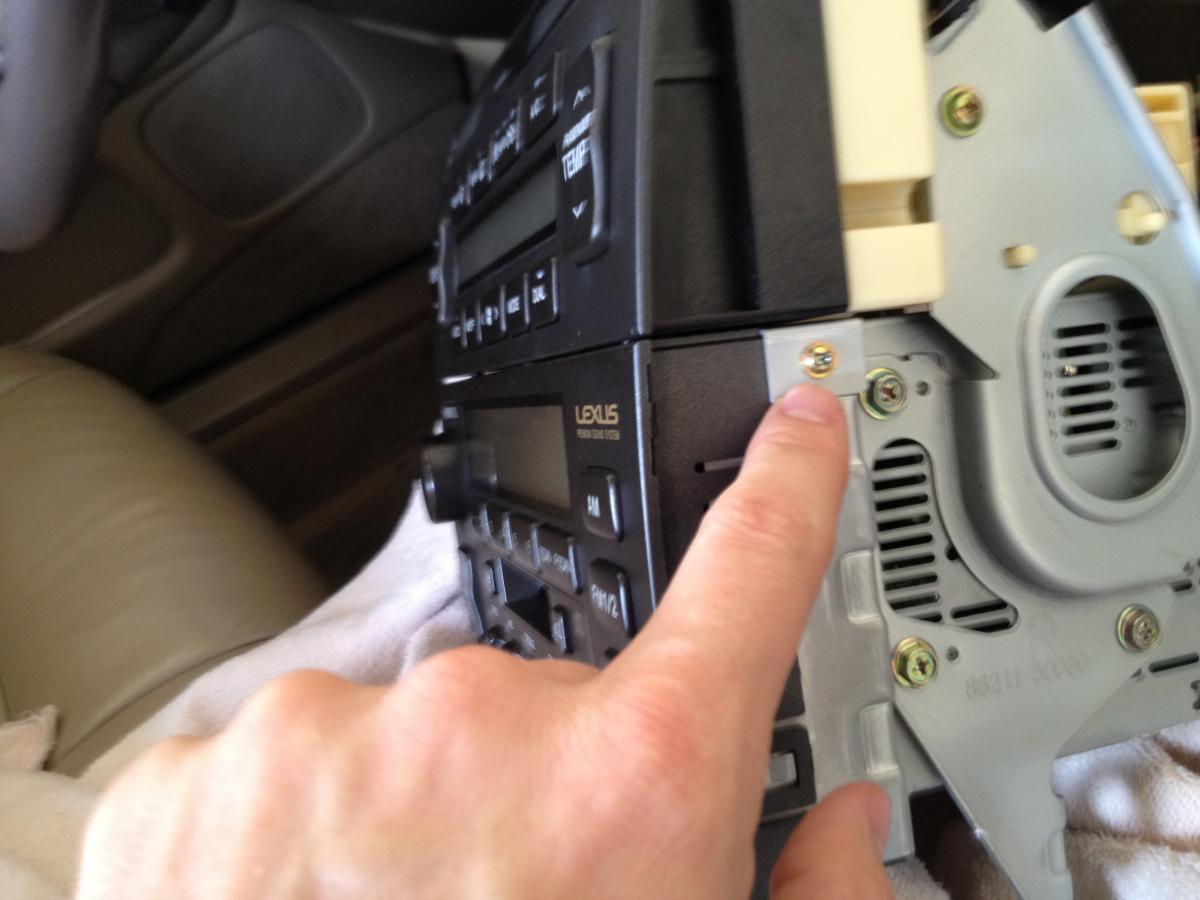
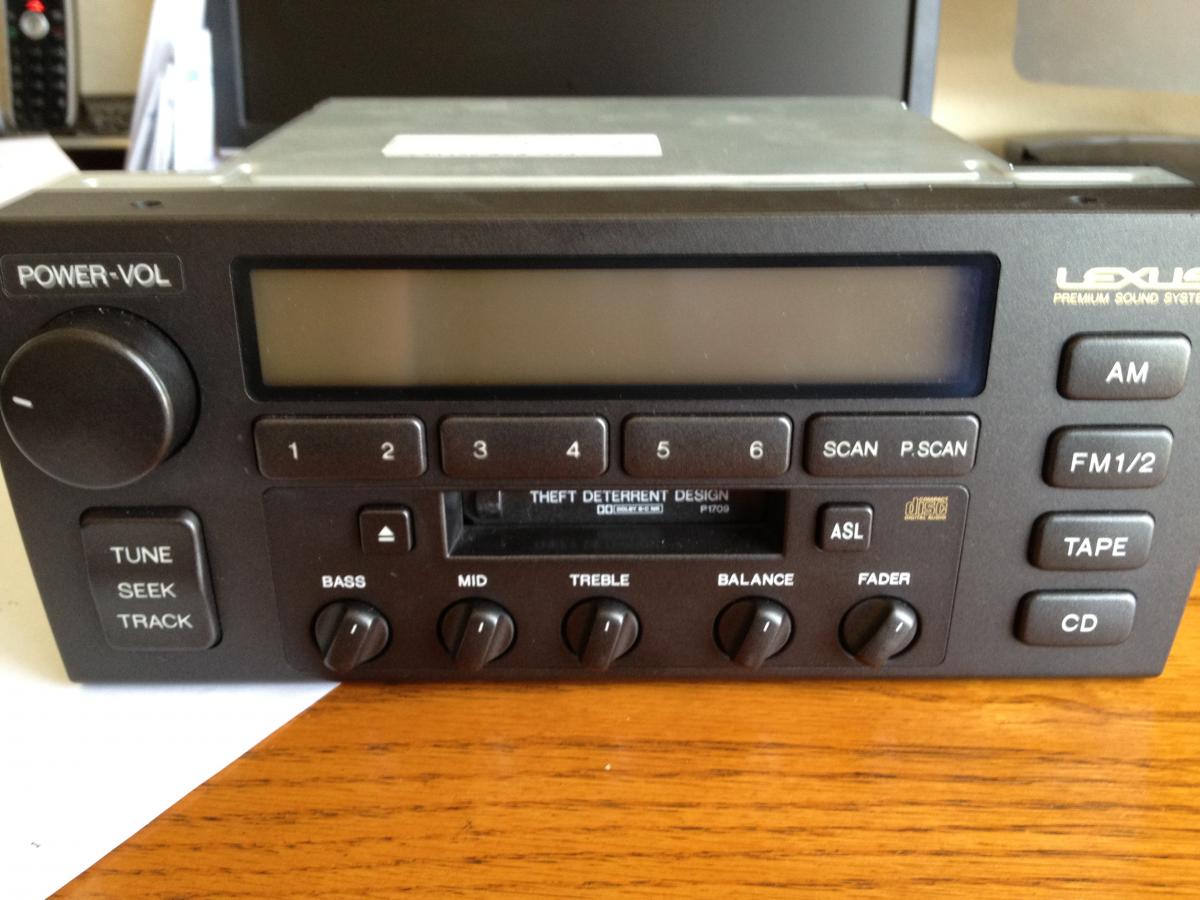
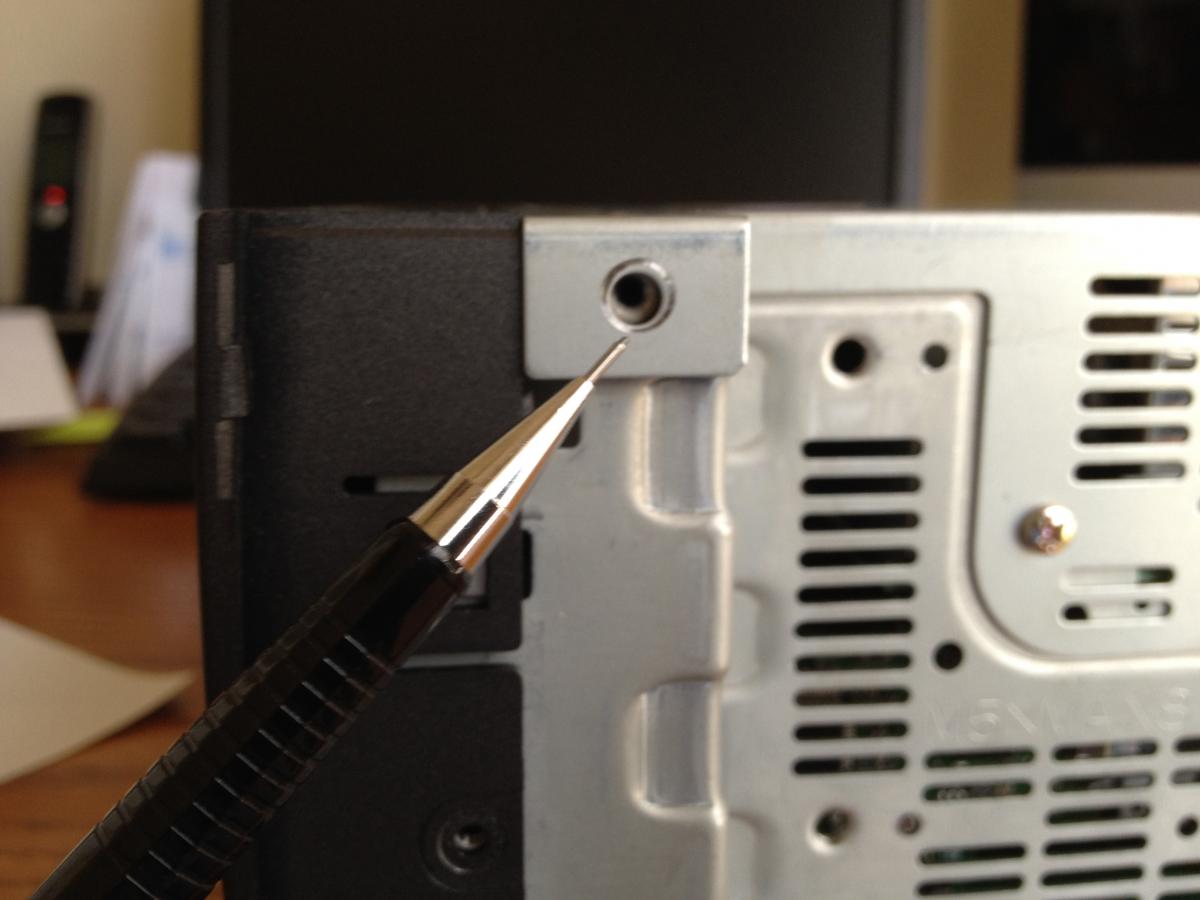
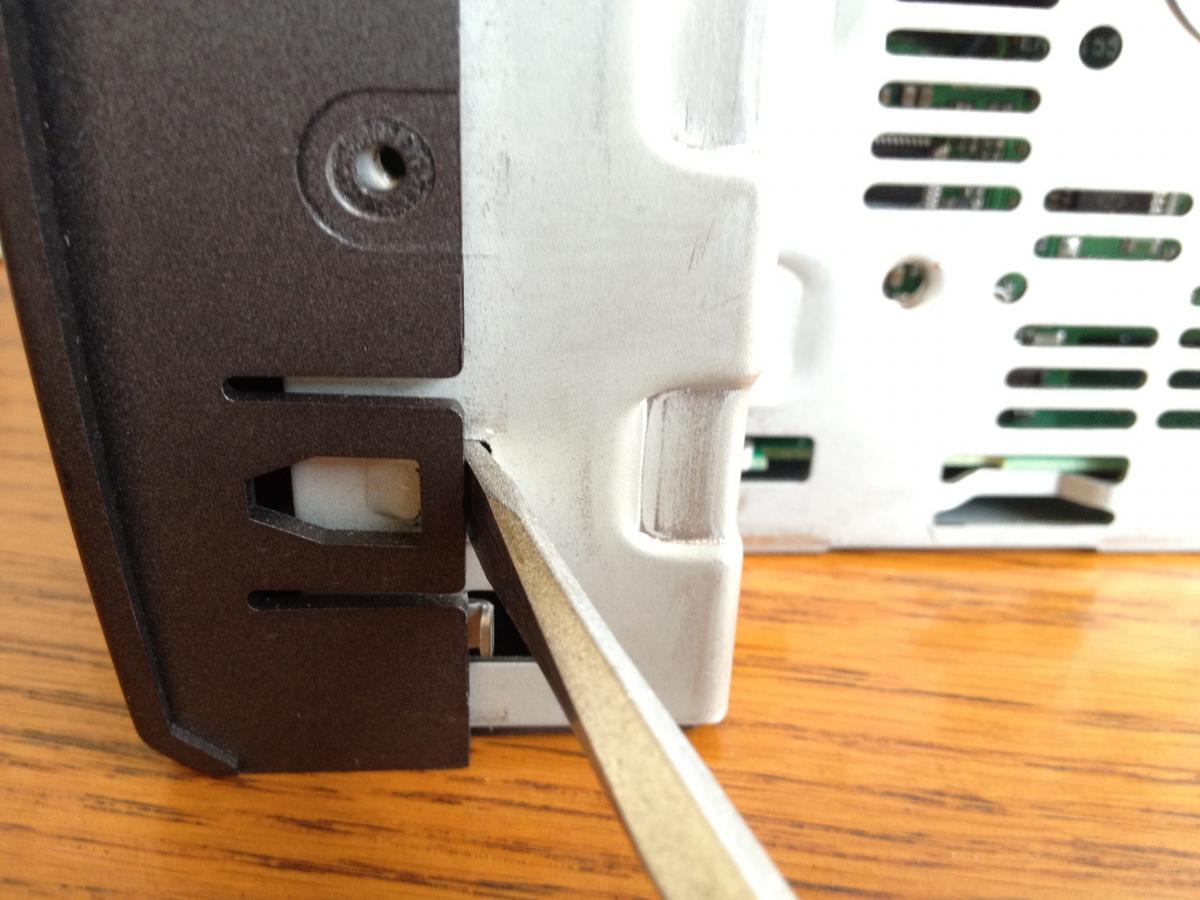
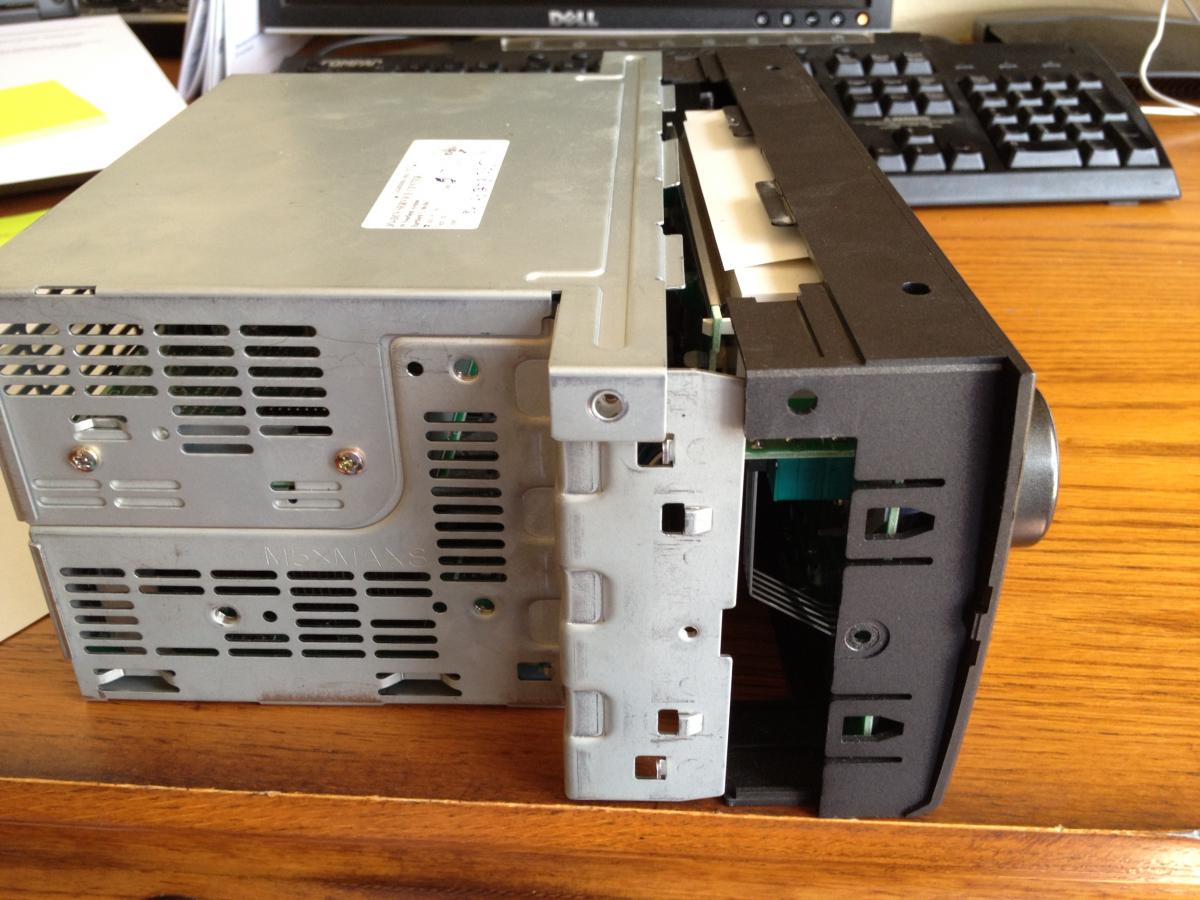
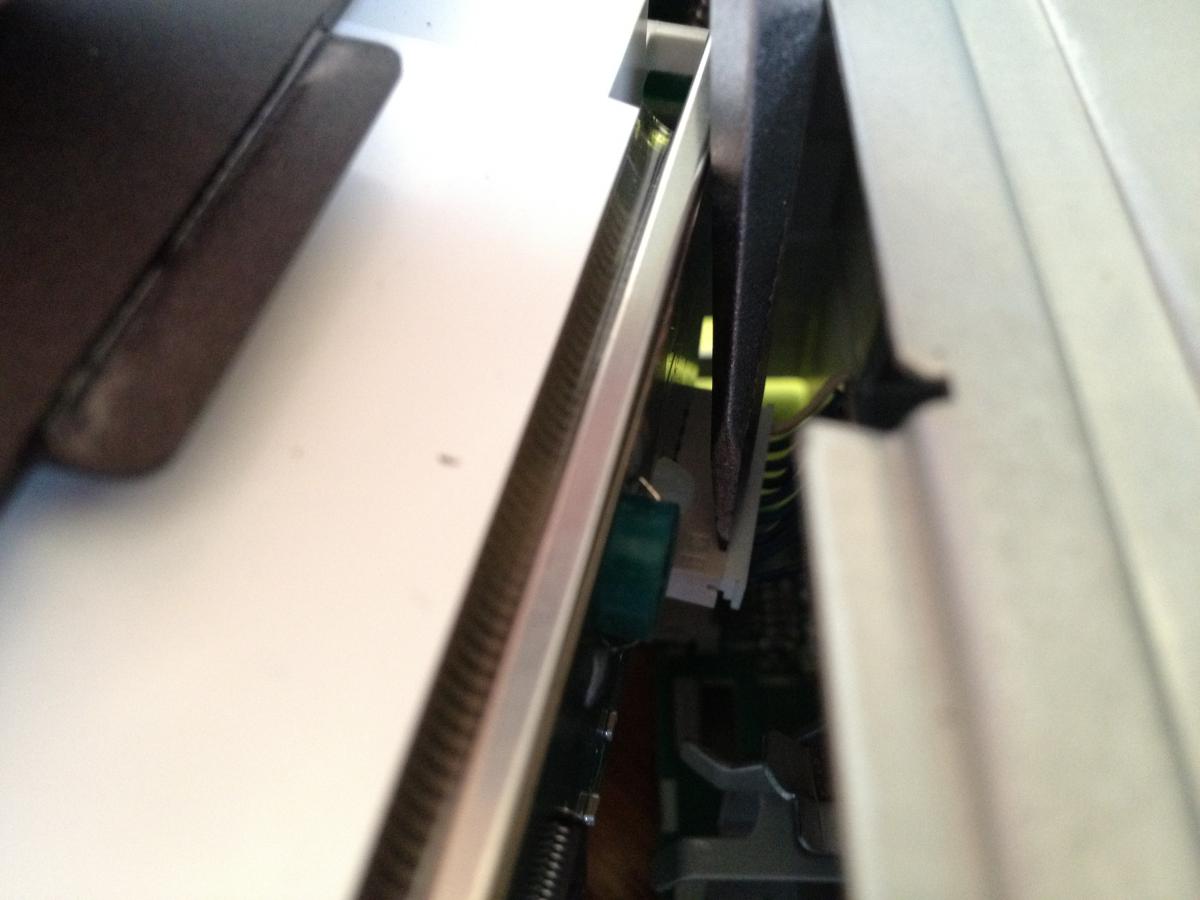
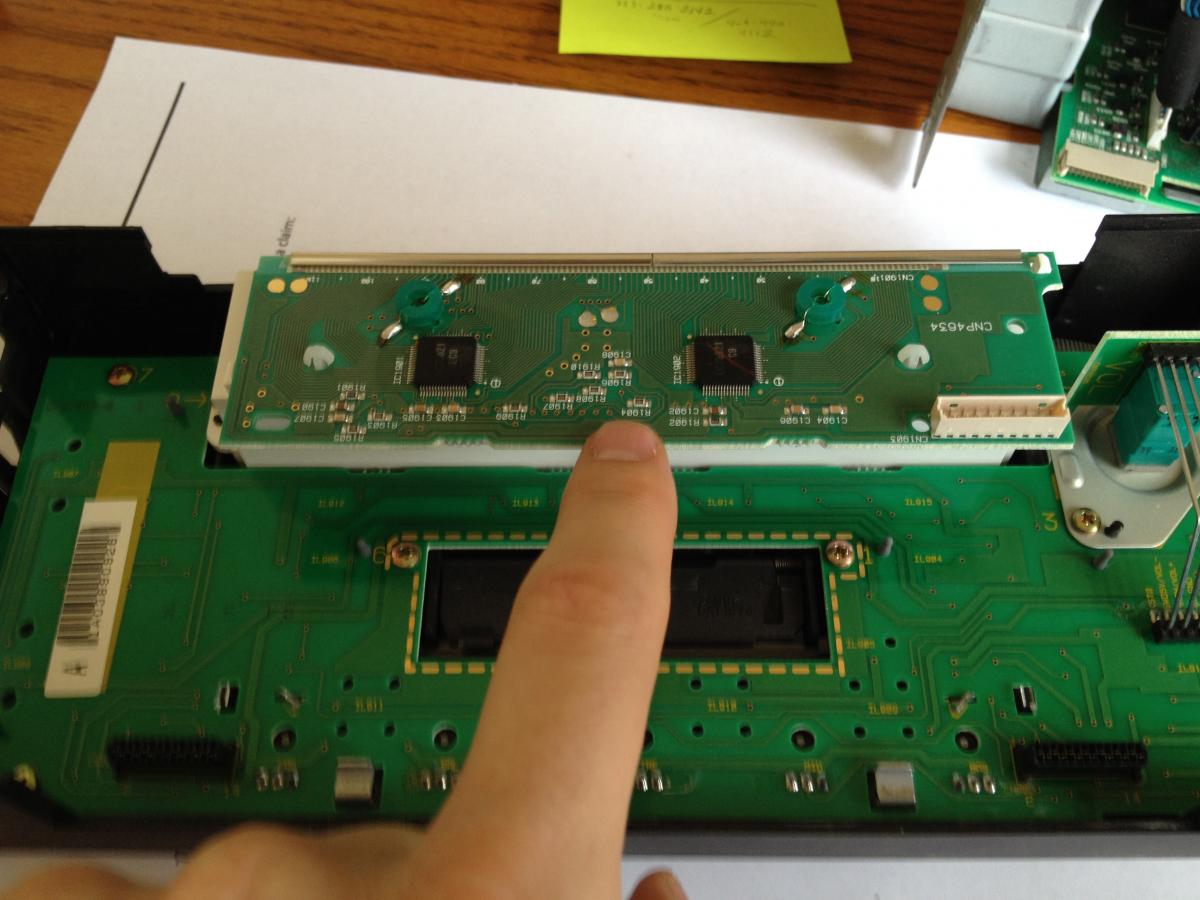
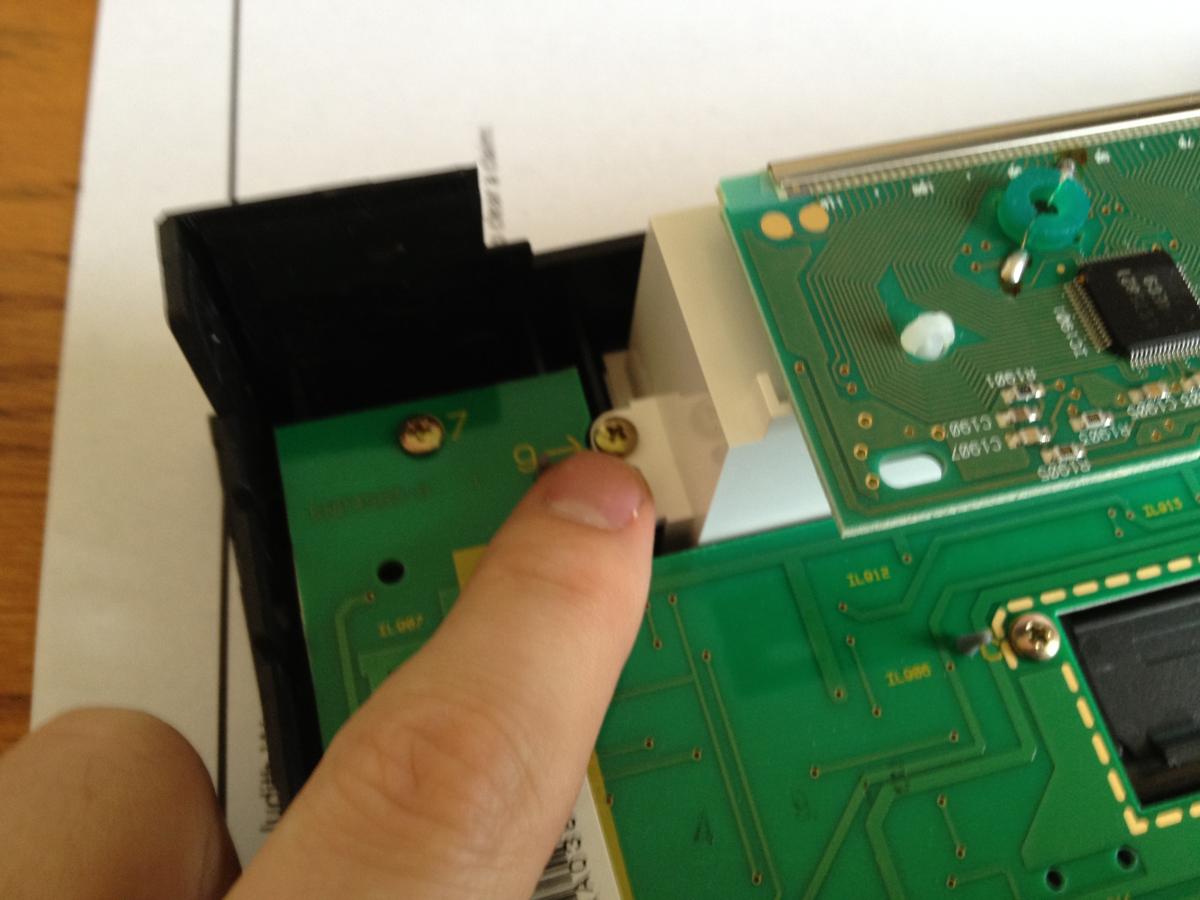
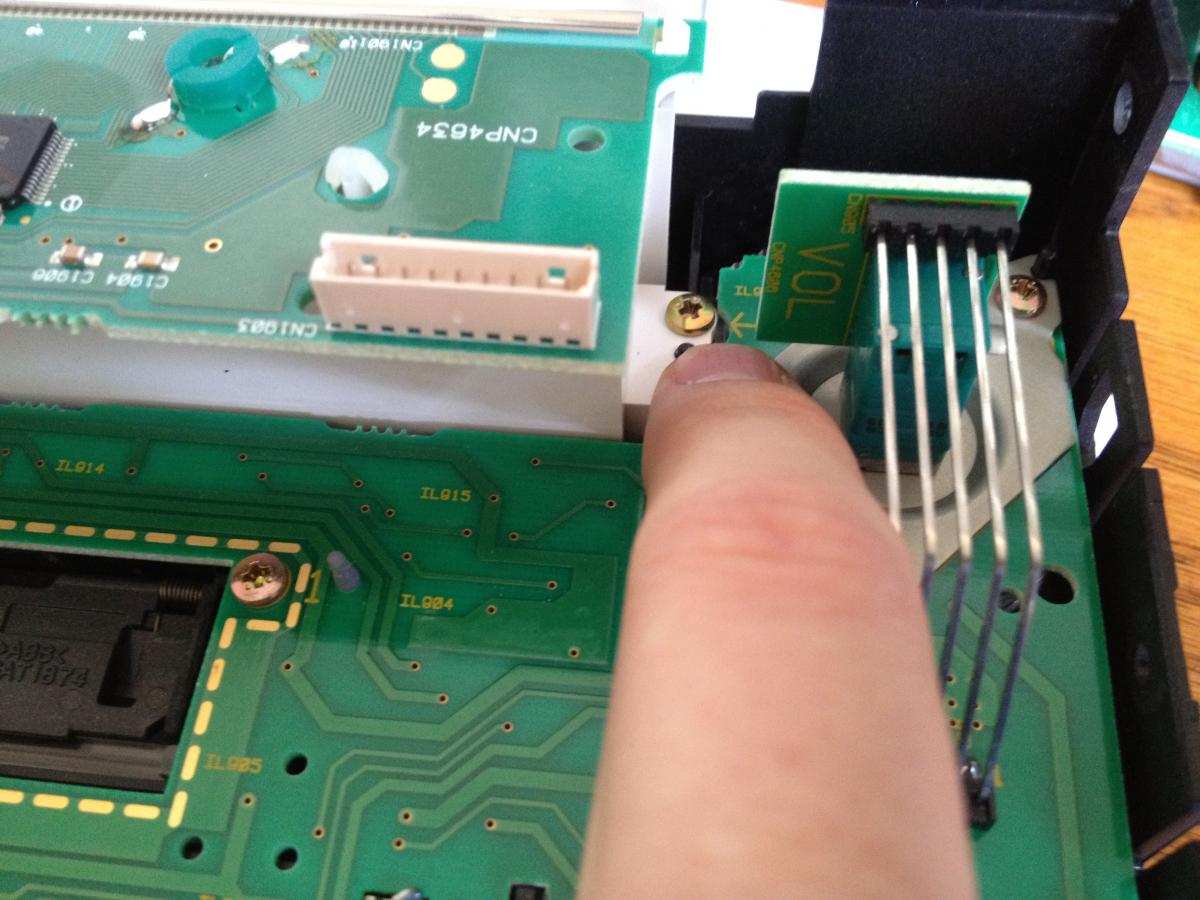
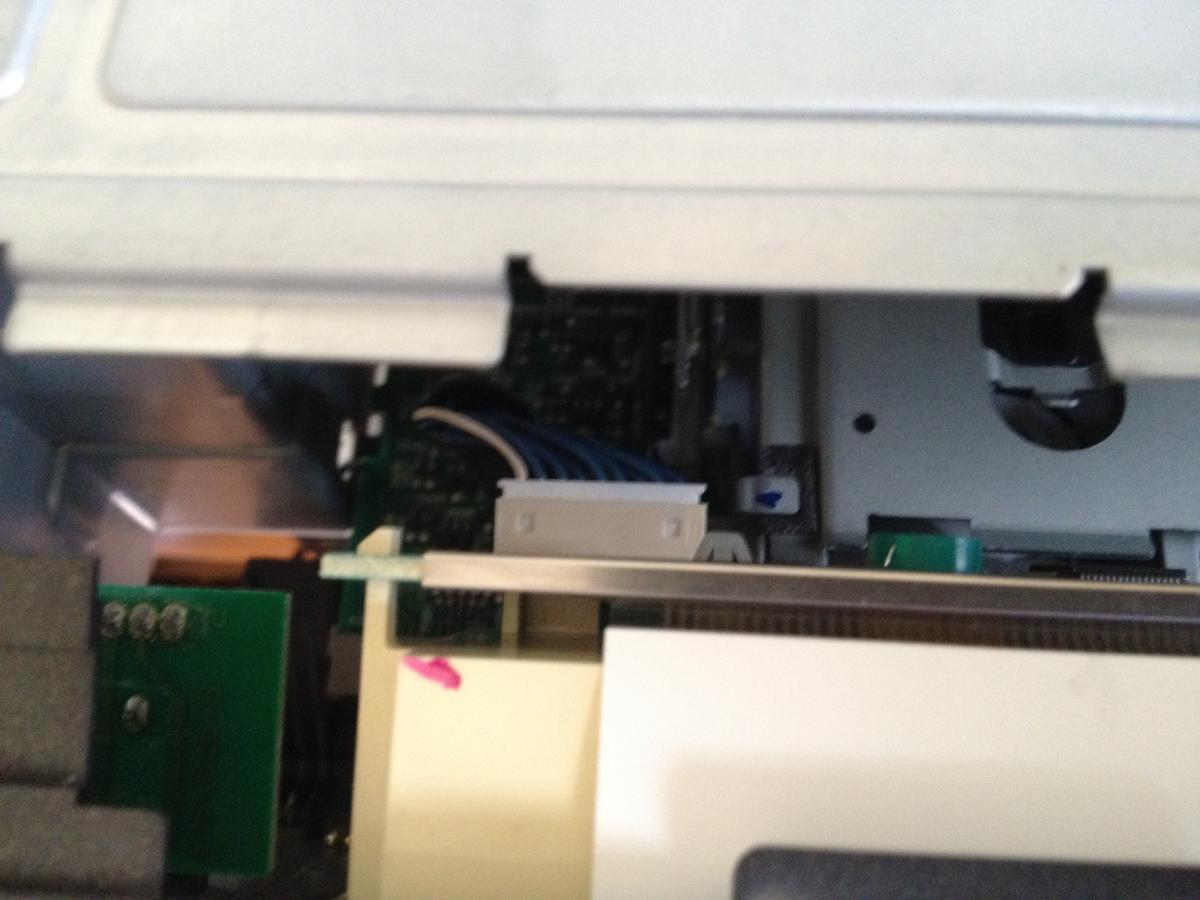
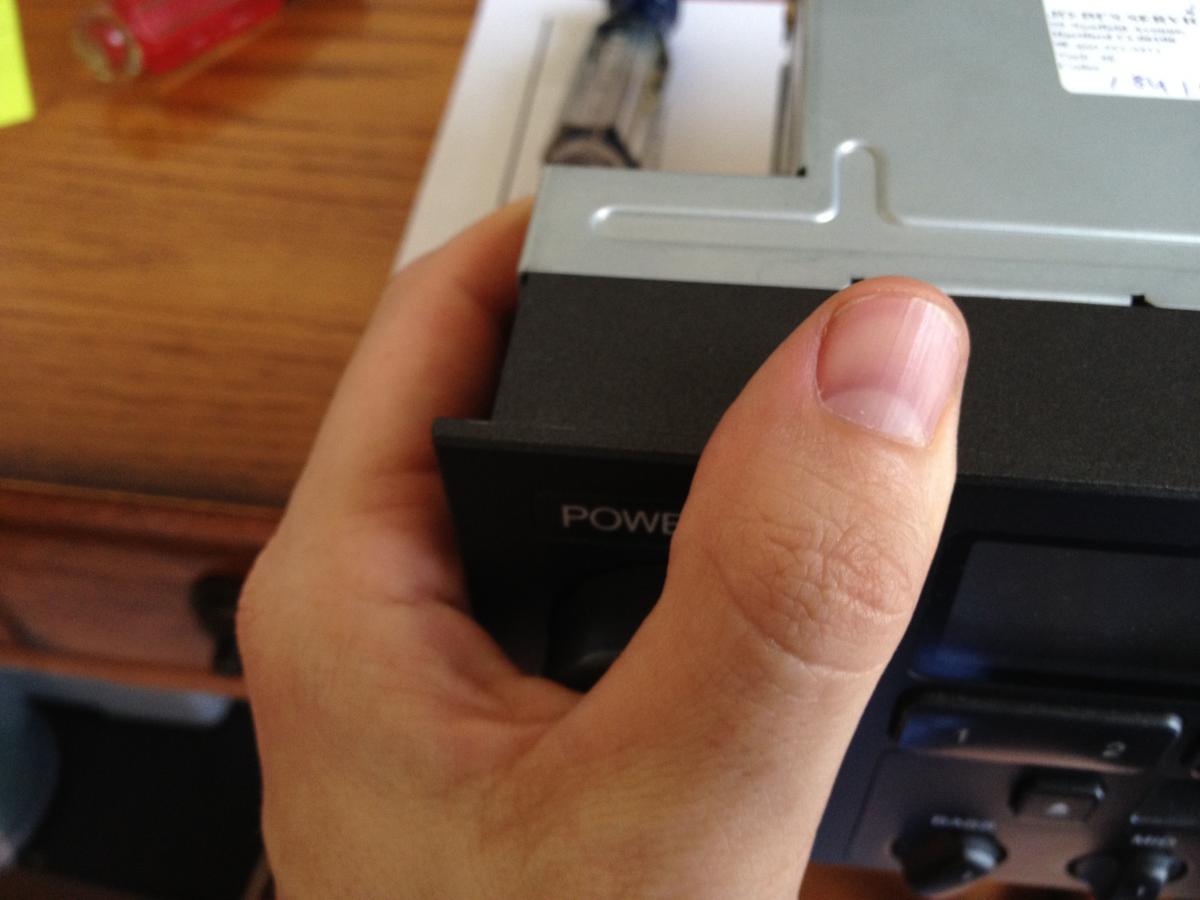
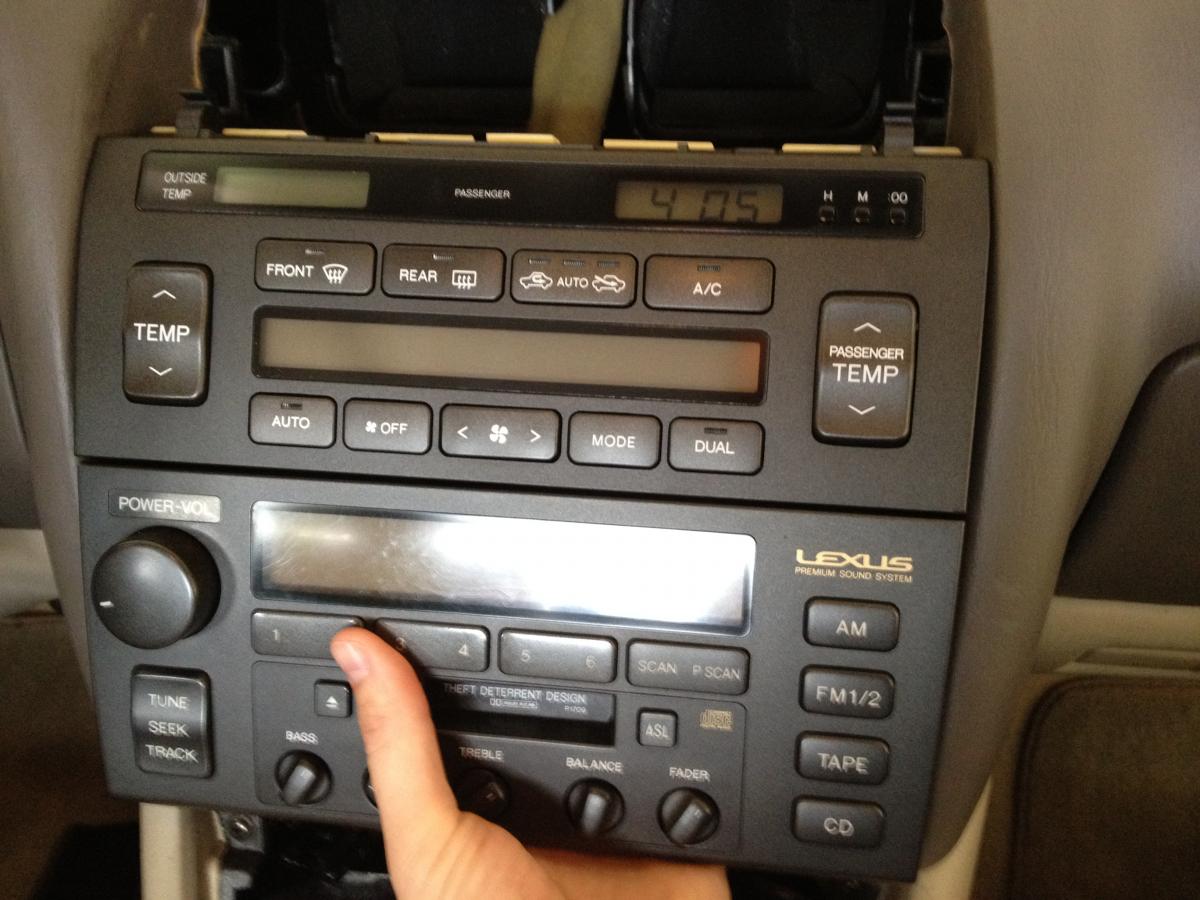
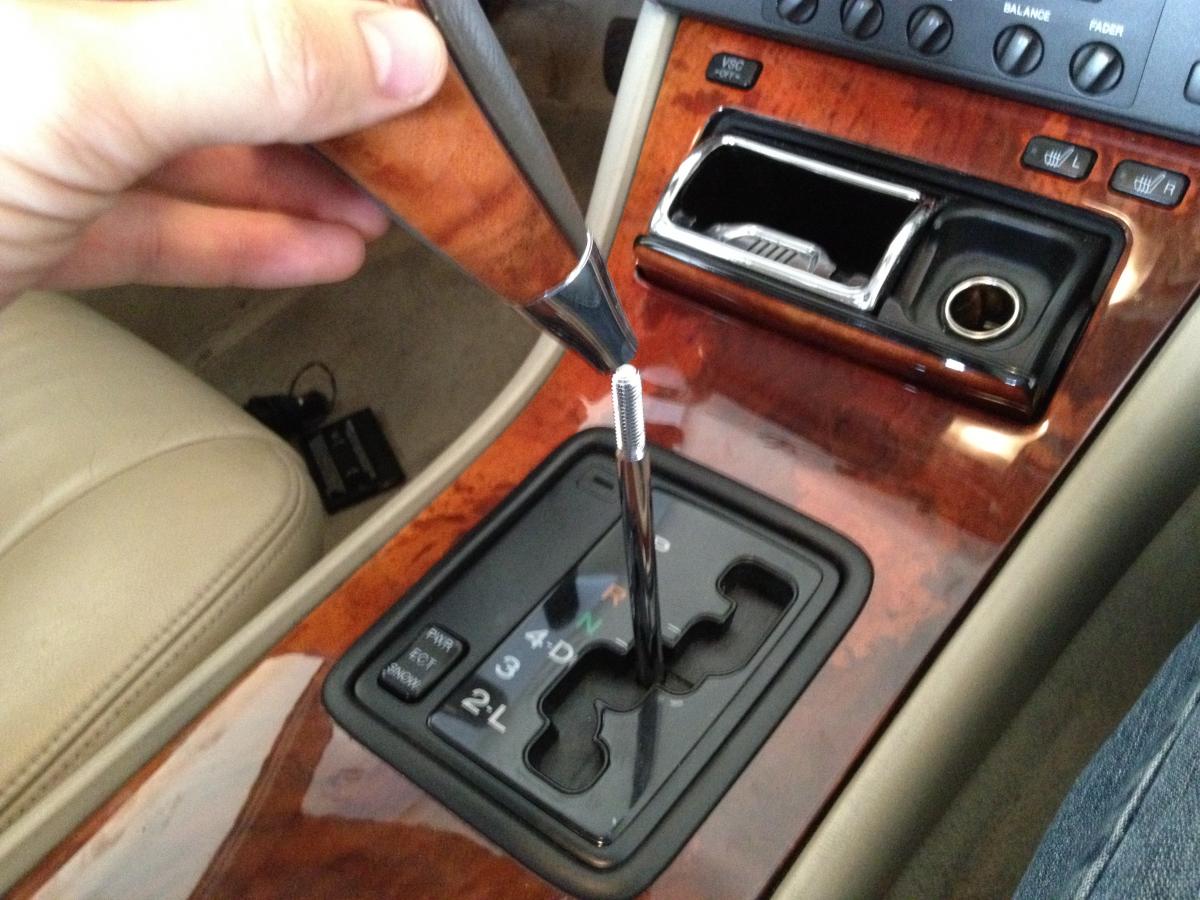
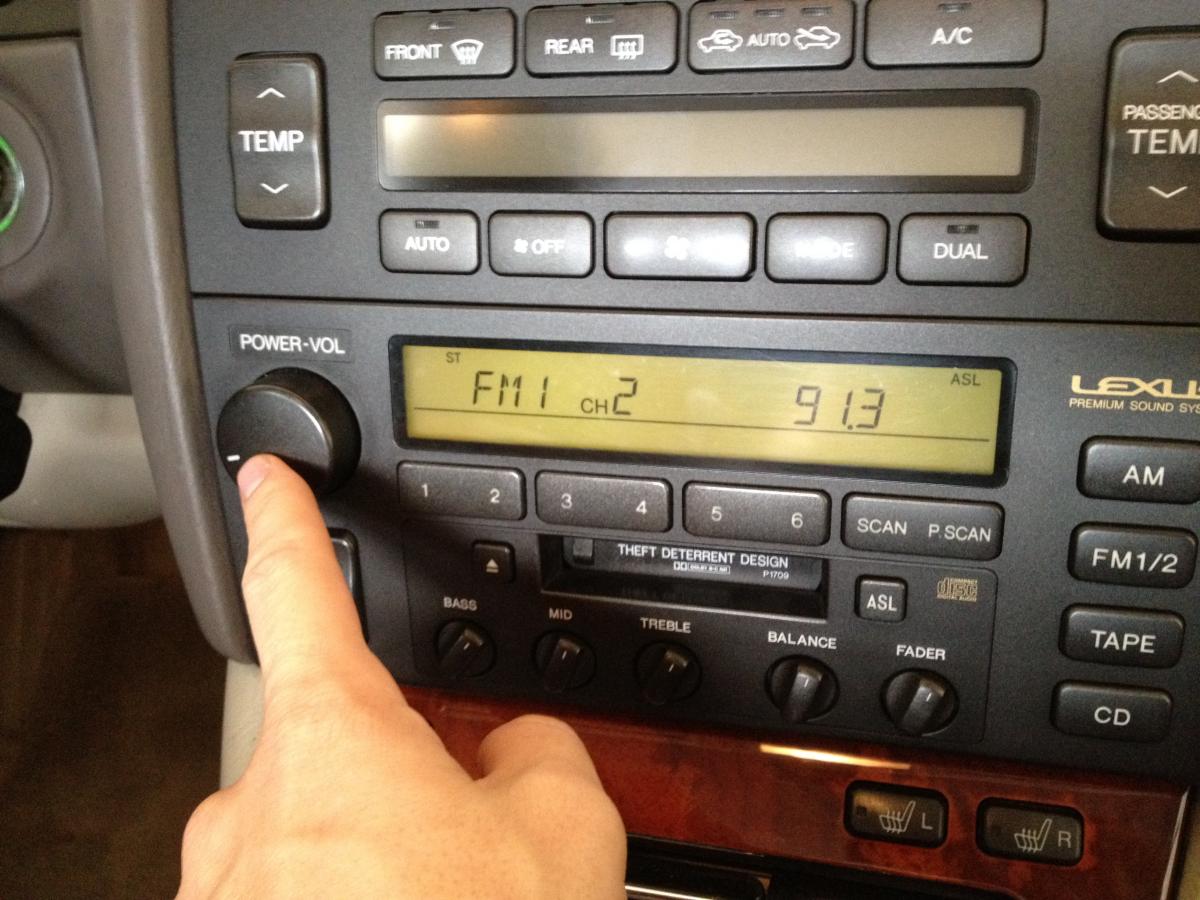
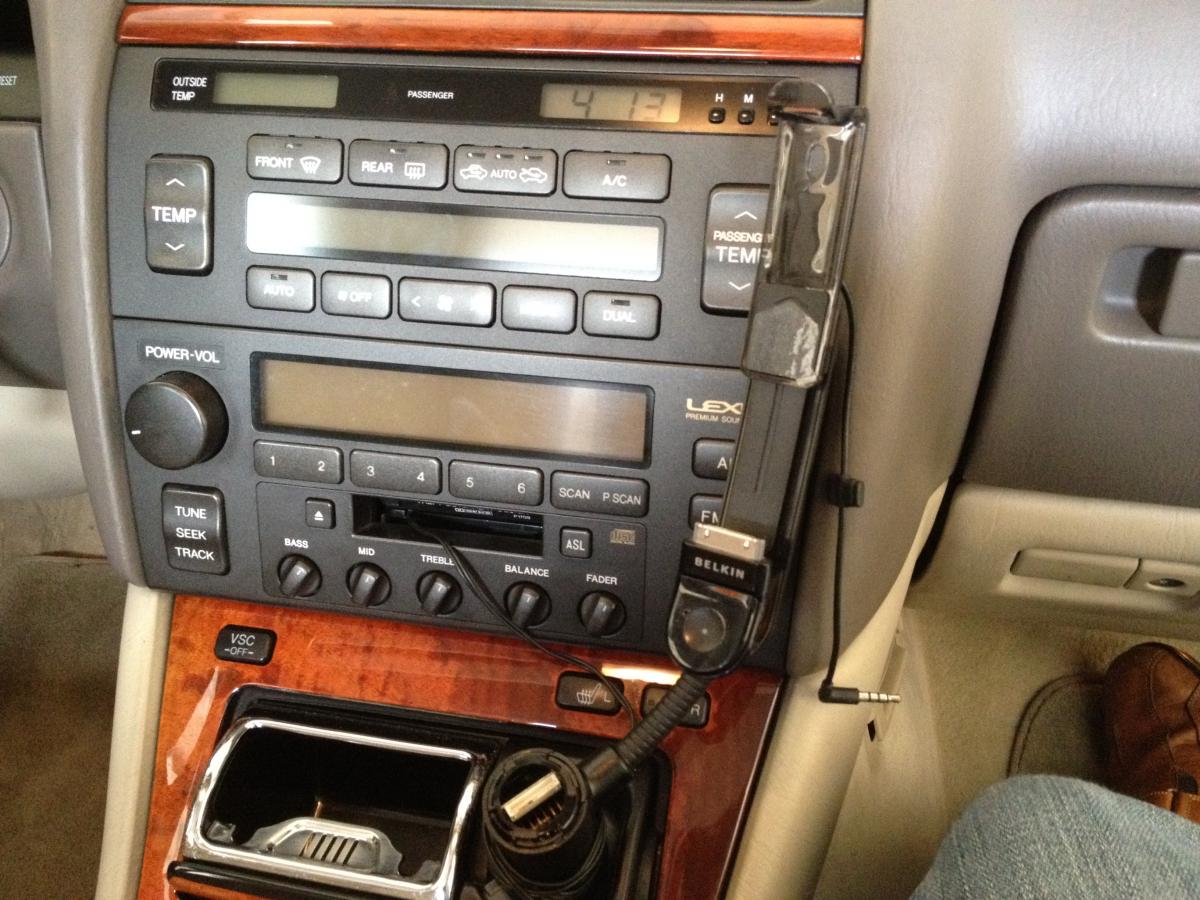
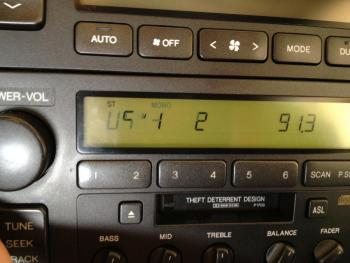
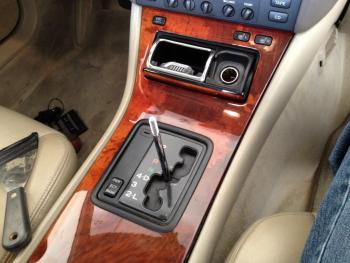
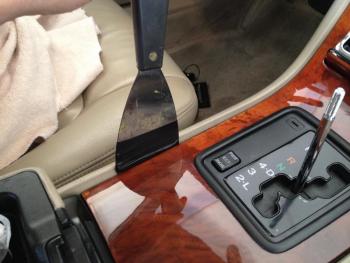
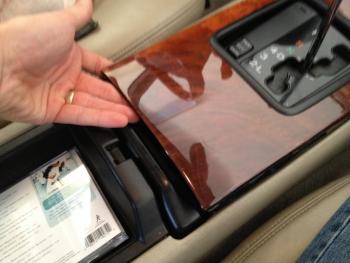
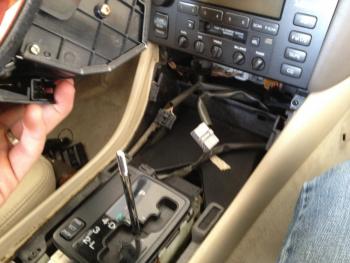
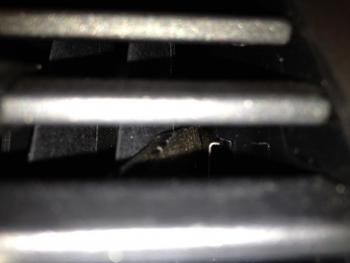
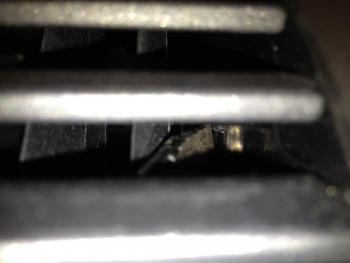
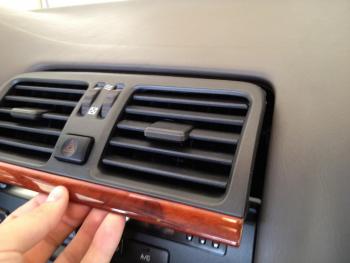
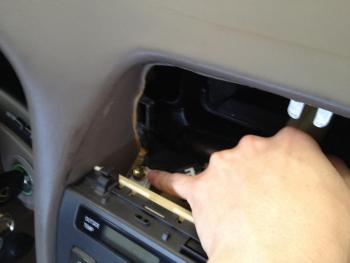
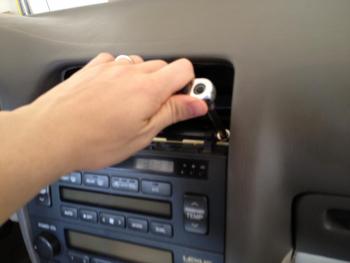
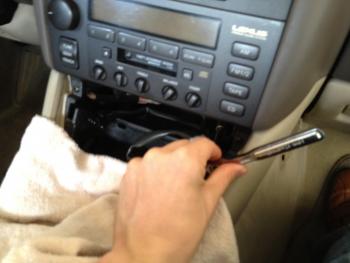
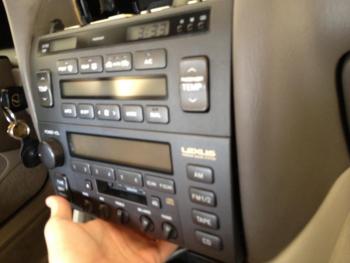
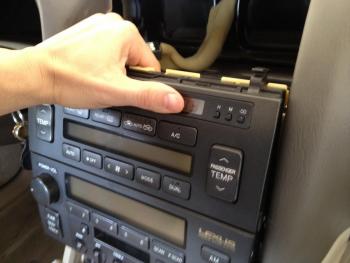
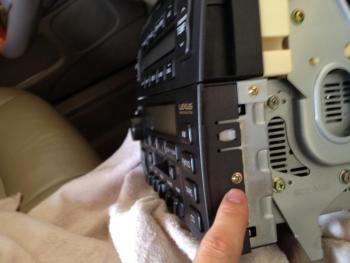
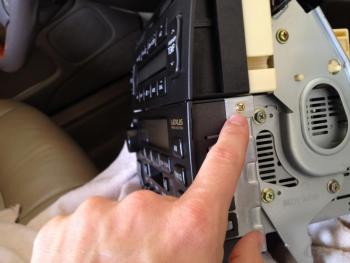
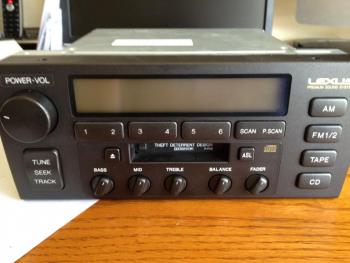
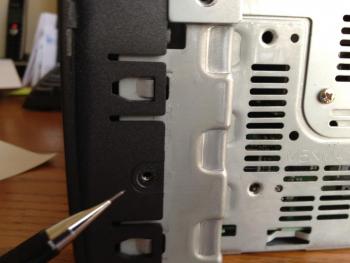
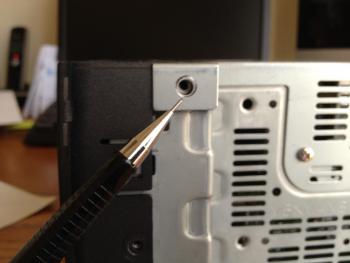
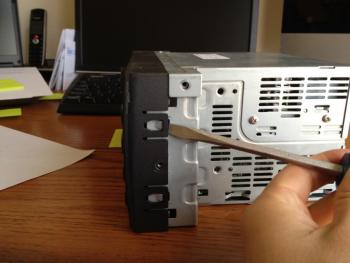
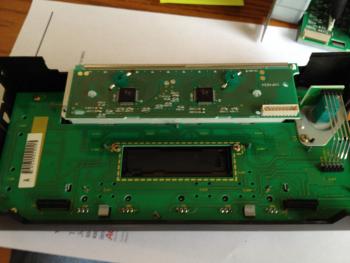
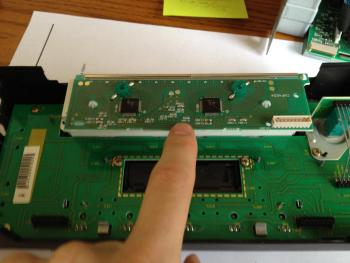
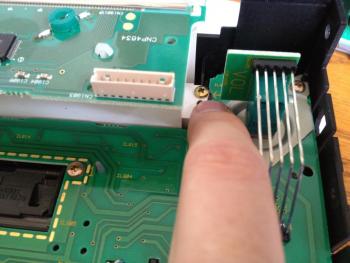
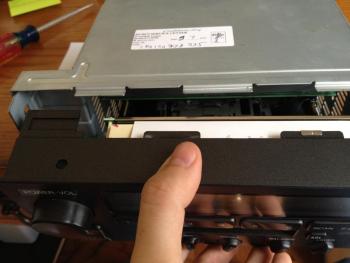
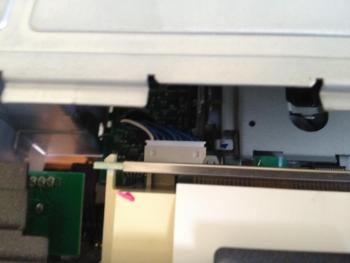
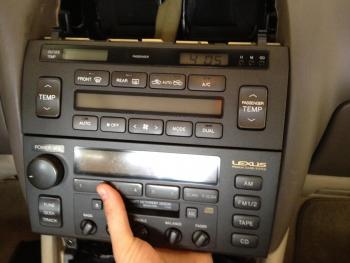
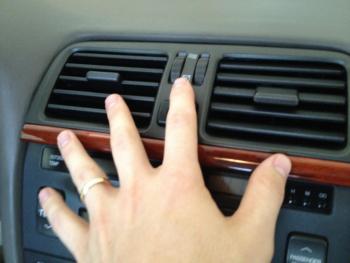
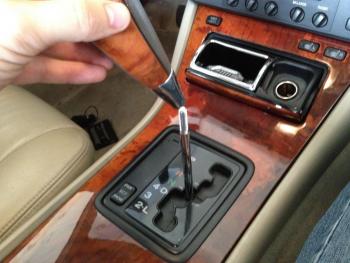
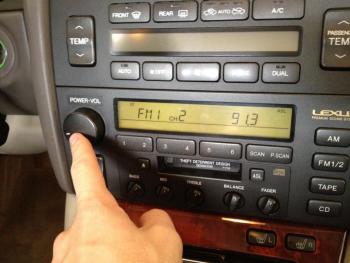
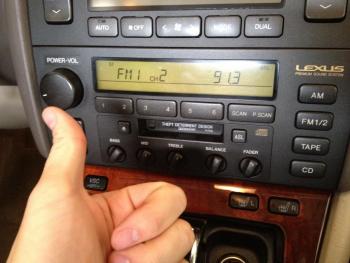
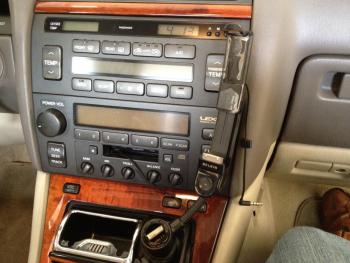
Hi all! My stereo was working fine in my 1999 LS400, until one day - on the way to pick up a pizza - I looked down and saw this Great... I drove around for a while like that, trying to get used to the readout, but it always bothered me. I ended up finding an eBay listing for a stereo that was coming out of the exact same year model! Yes! I won the bid with $35 for the stereo. The seller said "all operations work". I was very happy with this, and I finally found some time to install the stereo. The LCD worked GREAT!, but there was no sound. I guess "all operations" does not include having the stereo make any music... Well... I buttoned everything back up, and my family went on a little road trip last night. While I was driving, I thought I might try to swap the LCD screens from the stereo I just purchased to my existing stereo, and I would make a "how to" if it worked out great. First thing you need though is an LCD. You can pick a new Pioneer LCD screen. If you don't see one on eBay, try here: http://parts.pioneer...ductNum=CWM5077 This is the original LCD screen from Pioneer. Currently, as of this writing, it's $115.50 + shipping to where ever you are. (Nope... I don't work for Pioneer). Assuming that you have now have a replacement LCD, let's start! You will first want to place the gear selector in neutral (or a lower gear): You will then want to get a flat item to pry up the wood grain console. I used a paint scraper, and applied some electrical tape around the edge so as not to scratch anything: Gently pry and lift up. You can see the connectors for the heated seats, VSC and cigarette lighter: Disconnect the connectors for the heated seats (if you have them), VSC, and lighter. Lift off the console, and place where you won't step on it or put heavy tools on it. Now, you'll need to pull out the center vents. The first time that I did this, I nearly broke the wood piece just underneath. I listened to that still, small Voice that said, "Hang on, don't do that. Just look inside." Sure as shooting, there are two tabs, one on each side: Hopefully, I was able to capture it with the camera. You will be able to see it better in your own car. Insert a flat blade screwdriver and pry (gently) towards the center. On my car, I pry until I can put the edge of the tab on the inner edge of the air way. I then know that the tab lock has fully released. You should be able to wiggle the center piece with your hand: Take your pry tool and start from the top. Gently(!) pry the center vent into coming towards you. DO NOT USE TOO MUCH FORCE. If it doesn't come easily, make triply sure that you got the locking tabs unlocked. Now, slide the center vent out: Take the hazard light connector apart (be sure to pull the connector, and not the wire!): Go get a towel, and not your wife's good towel either. Place it over the center console. You will protect the center console sides from getting scratched, and it will keep little bolts from falling where you will never see them again. There are four 10 mm bolts holding the HVAC and radio to the dash. They are on either side. Here are two shots of one side: Take your ratchet and pull them out: Now pull the entire HVAC / radio unit up and towards you. Detach the connectors from the back of the stereo. I left the HVAC connectors plugged in. In the next picture, you can see the screws that you'll take out eventually. However, for now, I took out the three-per-side screws just to the right of my index finger. This is the bracket that holds the radio and HVAC together. I suppose this step isn't really necessary, but I am really glad that I took the stereo out of the bracket. It made it much easier to work on: Now you should have the radio out. Here it is sitting on my desk: You'll take out the screws from each side of the face plate (I've already removed them in these pictures): Take a flat head screwdriver and place behind each of the four tabs that help keep the face plate in position: Now pull the face plate apart (again gently). There is a single ribbon connector connecting the radio to the back of the LCD screen circuit board. You'll need to disconnect this from the LCD. I used a screwdriver to pry it out on each edge of the connector. This worked well for me. Needle nose pliers would also work well. Here in this picture, I have a screwdriver touching the connector. Don't pull on the wires!: Good job! You now have the face plate separated from the radio. This is the part that you are replacing: There are two screws holding in the LCD screen. Unscrew these and simply lift out the LCD screen unit: Put your new LCD screen in and reattach the ribbon connecting the LCD screen to the radio. Make sure it's fully seated: Reattach the radio to the brackets on the HVAC unit, plug the wires into their respective connectors, and reinstall back into the dash: Reattach the hazard light connector and slide the center air vent back into the dash. It goes in much, much easier than when you were taking it out! Remember where you hid your center wood grain console? Go get it and press it back into position. After this, screw the gear selector knob back into position. The moment of truth: YES! A working LCD! And finally, with my little iPhone bracket, which has proved to be most useful in holding the phone, taking calls using the stereo as a speakerphone, and listening to music. Apple's Siri can hear pretty well in a quiet Lexus. Not the best aesthetically, but very, very functional. Lastly, there are some additional pics that I uploaded, but didn't really use under the "attached" section. Feel free to disregard! Once you have a replacement LCD screen in hand, you should be able to complete this task in about an hour to hour and a half. Taking out the center air dash is probably the toughest part, because you want to be gentle to keep from breaking it. It is very expensive to replace!


 1 point
 -
English may not be his native tongue or he may be a victim of the texting craze. More than likely he is simply a product of "modern" education techniques. Regardless of the above, The easiest solution is for LS400ridin to take his car to a good upholstery shop and have his seats rebuilt to factory specs. He isn't too far from Unique Auto and I am sure that Buju and Willie could whip something "cool" up for him.1 point